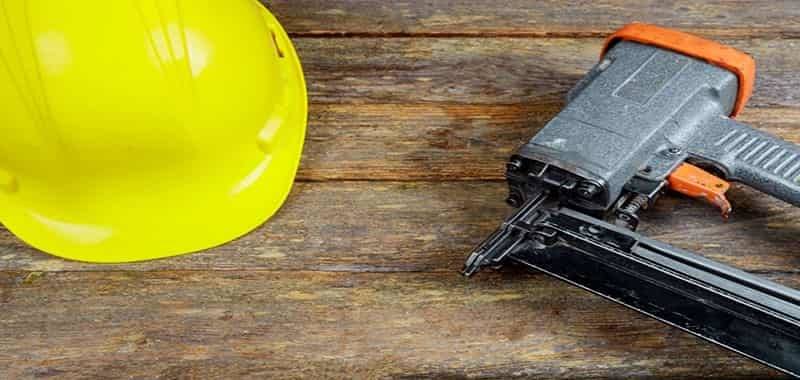
One of the greatest inventions of modern times (at least for woodworkers) has been the nail gun, which helps you drive nails into wood fast and with precision.
But if you have ever tried to use brad nails with a nail gun, you know the loading process is no simple task. These kinds of nails require more care when loading than regular nails, which is why many people give up on trying to load them into a nail gun.
However, this is where we can help. Read on to find out how to load a brad nailer properly into a regular nail gun.
Things You Will Need
Before you begin, here are some essentials you will need in order to use a nail gun loaded with brad nails.
Nail Gun
A nail gun makes it easy to drive brad nails properly, so it is essential, even though the loading process can be a bit tricky. This is definitely the best way to install brad nails, no matter what surface you are driving them into.
Brad Nails
It’s super important to get the right kind of brad nails for your job. This means getting the right length and amount of nails.
In terms of the amount, brad nails do not come individually but are in strips. You can cut down these strips to the amount you will need but make sure there is enough that you can get the strip close to the nail gun’s outlet.
As for length, you just need to get nails that are long enough to not block the nail gun and that the gauge of the nails is of the same size.
Safety Goggles
Lastly, put on a pair of safety goggles so that you can avoid injuries from any accidental flying brad nails.
Safety is one thing you should never be lazy about because doing so will have long-term consequences, especially when working with sharp objects or power tools.
Loading Brad Nails into a Nail Gun
Now that you are prepared with all the supplies, we can move onto the process of loading the brad nails into your nail gun.
1. Prep the Air Hose and Holes
Check your nail gun’s user manual to see if the hose needs to be disconnected before loading or not. This feature varies between nail guns, so it’s necessary to check.
You also need to seal the nail gun’s air holes using clear tape before you start the loading process.
2. Access the Magazine
Open the nail gun’s magazine and pull back the cartridge so that the magazine is fully accessible. This way, you can load the brad nails most effectively.
3. Loading with Brad Nails
This is the part we are here for. While some nail guns have the entrance for nails on the top, others have it on the side.
Once you identify this entrance, start putting the strip of brad nails into the nail gun, making sure that the nail heads fit into each slot. If not, then that means you are using the wrong size of brad nails.
Make sure you are getting the nails as close to the nail gun’s firing nozzle as possible.
More Is More
The average number of nails you can put into a nail gun’s magazine is about 100, and you want to stay below that.
Not that you have to count each nail because it will be easy to see when the nail gun is being overloaded, which will make it work ineffectively.
Close and Hear for the Click
Once you feel that the brad nails are fully in place inside the magazine, close it properly. You will know it’s secure because you will both feel and hear a ‘click’ sound.
If you do not hear this click, then you might want to reload the brad nails and try to identify which step you might have done wrong.
But if you have heard the click, then your nail gun is loaded with brad nails and is ready for use.
Conclusion
Loading brad nails into a nail gun is not rocket science, but it can take some practice to master how to load a brad nailer, and there are some key instructions you will need to follow (as detailed above) in order to do it right each time.
