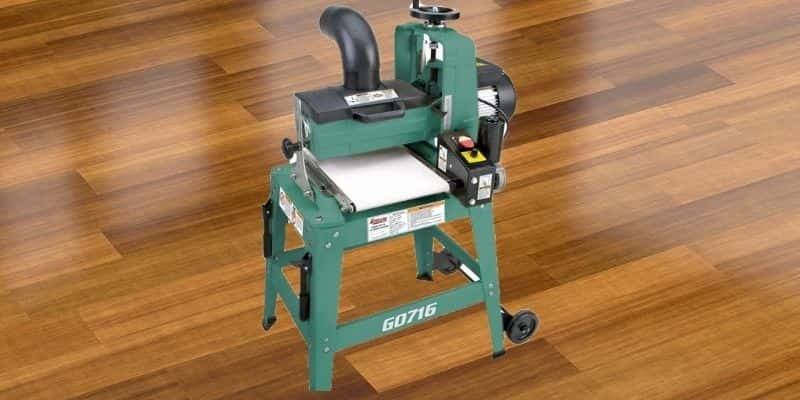
If you are looking for the most effective way to sand hardwood floors, most people will recommend using a drum sander. Indeed, a drum sander is a powerful tool, but it can be difficult to operate and dangerous if you don’t know what to do.
Thankfully, this guide will inform you on how to sand a hardwood floor with a drum sander. It’s important that you fully understand how to use a drum sander and, if possible, have an expert show you the ropes the first time.
Drum Sander Sandpaper
An important thing drum sanders require to do their job is sandpaper. The drum has a loop of sandpaper attached to it, and it continually moves to rip down the wood.
Generally, you will want to use sandpaper with a rating of 120 grits. If the hardwood floor is in very poor condition, you will want to use 50 to 60 grits of sandpaper. Make sure to buy long strips of sandpaper.
Preparation
Before you can use a drum sander, there are a few things you need to take care of first. These are:
1. Cleaning the Floor
Before you begin to sand your hardwood floor, you should give it a thorough check. Protruding nails or stray objects can get caught in the belt and end up damaging it. So remove anything that might get caught in the drum sander’s belt and give the floor a proper cleaning.
2. Safety Equipment
Check to make sure you have safety goggles, ear protectors, and a dust mask. Drum sanders release a lot of dust during their operation, which can be very harmful, so a dust mask and safety goggles are necessary. They are also very noisy, and using them frequently can damage your hearing.
3. Ventilation
The room you’re using a drum sander is needed to be well ventilated. The dust emitted from sanding can be suffocating. Make sure you have your windows open to let the dust-out.
Using the Drum Sander
After taking the necessary precautions, you can begin to use your drum sander. You should keep the instruction manual at hand for your drum sander. It will usually contain important information for the specific model you are using:
1. Prepare the Drum Sander
It’s recommended to keep your drum sander tilted when not powered up. This prevents the belt from being in contact with the floor. In this position, you can wrap the sandpaper belt around the drum. Plug in the electrical cord to a power outlet. Turn the sander on to check if it works or not.
2. Plan out Your Route
The problem with using a drum sander is that it’s powerful enough to leave unwanted grooves or marks on the floor if kept stationary. So it’s recommended you have your route planned out, so you avoid standing in one place for too long.
And the best way to go about it is to go along the lengths of the floorboard. Start at one wall and continue straight until you reach the opposite wall. Repeat this until the whole floor is sanded.
3. Sanding
After turning on the drum sander and having your route planned out, tilt the sander back into its original position.
When the belt touches the floor, begin pulling the sander backward along your planned route. After reaching the wall, tilt the sander back so that the belt isn’t in contact with the floor. Turn it around and repeat this process.
4. Clean up
You can use a smaller sander or sandpaper to clean out small parts that the drum sander couldn’t reach. Once you’re done sanding, use a broom to start sweeping the floor. You can alternatively use a vacuum for clean-up.
Conclusion
After reading this, you should have a good idea of how to sand a hardwood floor with a drum sander. While the process is easy, you should be very careful when using a drum sander and take the necessary safety precautions.
