Drywall is an extremely popular construction material among both DIYers and contractors. But there are some steps to follow when you are drywalling. Sanding is the last step, and quite possibly the worst one. It is slow and tedious and requires more time for cleaning than the actual sanding.
So, what can you do to avoid all the drama? Make sure to invest in proper materials, an electric sander being one of them. It will make the process effortless and less time-consuming.
Want to know more about how to sand drywall with an electric sander? Look no further and read on!
Step by Step Guide on How to Sand Drywall with Electric Sander
Now that you know how to sand drywall with an electric sander, you no longer have to worry about the various complications of this process. Instead, with an adequate amount of time, care, and effort, you can master handling the amazing piece of equipment and thus efficiently complete your dry walling.
Let’s get on with the actual process.
Step 1: Prepare the Surface
Prepare your drywall surface before you use your electric sander on it.
If you have ample time on hand to prepare, use multiple thin layers of jointing compound, better known as mud. It is advisable to use at least three layers.
Apply one layer of compound, let it dry, and smooth out. Then apply a second layer and repeat. Lastly, apply a final layer and finish. It is unnecessary to sand the mud between each layer, but smoothen out any bump to create an even surface.
If you do not have a lot of time on hand to prepare, use one thick layer of jointing compound or mud, let it dry and smooth out.
Step 2: Take Precautions
Before you take an electric sander to your prepared surface, make sure to follow some precautions.
While electric sanders do cut down on the mess, it is still important to put on safety glasses and a mask or a respirator to prevent accidental contact with dust particles.
Step 3: Use the Sander
Get to work immediately once you are done with the prep. Apply pressure on your electric sander and constantly move it around to smoothen the drywall.
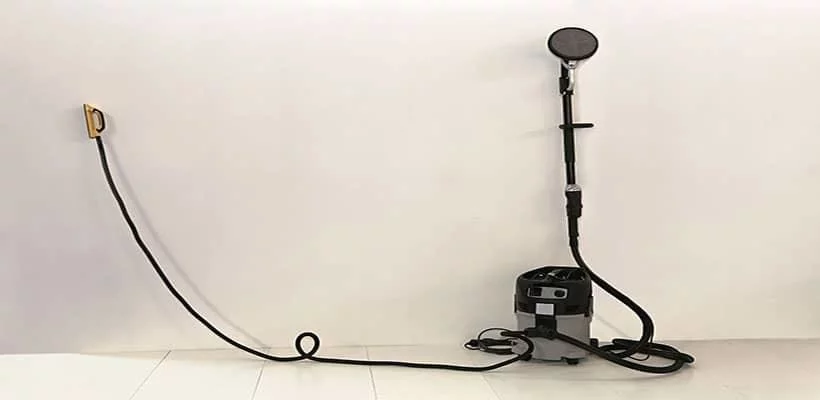
Each of the different parts of an electric sander exists to serve a different purpose –
- Round Sanding Disc: It is attached to the head, enabling the device to be used on large, hard to reach walls.
- Long Pole and Vacuum: They create an effective dust collection system.
- Brush Skirt around the Circular Sanding Pad: This one eliminates any risk of gouges and enhances the removal of dust and debris.
- Brush Part: It reduces the chances of gouging by coming into contact with the wall first.
- Skirt Part: This helps clean the wall surface while moving the sander around and containing dust.
Note: Check out how to use dustless drywall sander.
Step 4: Adjust Speed
Make proper use of the speed adjustment feature your electric sander provides.
When you need to sand difficult areas, you can reduce the sander’s speed for better control. Conversely, when you are tight on time, you can increase the speed to get the job done fast.
Step 5: Know When to Stop
It is really important to know when you should switch your sander off. Because if you use it more than necessary, you can damage the drywall with several unwanted scuff marks.
Always sand lightly to start with and proceed from there. When you think that it is enough, stop the process.
Conclusion
Now that you know how to sand drywall with an electric sander, you no longer have to worry about the various complications of this process. Instead, with an adequate amount of time, care, and effort, you can master handling the amazing piece of equipment and thus efficiently complete your dry walling.
