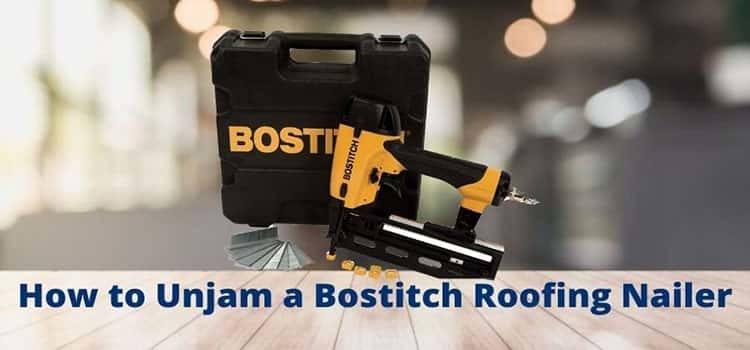
The worst thing that could possibly happen while working on a project is if your nailer suddenly gets jammed. Not only can this be very annoying to deal with as it will hinder your workflow, but it can also be quite dangerous to some extent as well.
This is why you need to always make sure to completely unjam your roofing nailer. However, not many people actually know how to unjam a Bostitch roofing nailer, and we know how frustrating that can be.
Whether you are a newbie in the industry or a professional, it does not hurt to learn how you can quickly unjam your roofing nailer while also making sure to prevent the same scenario from arising in the near future again.
How to Unjam a Bostitch Roofing Nailer
Here, I’ll describe the process in detail for you.
1. Inspect the Nailer
This is the first step to take if you want to start unjamming your Bostitch nailer without necessarily making it more complicated than it already is. Take a step back and inspect the product from all sides to see where things actually went wrong and how you can tackle the issue without making a mountain out of a molehill.
2. Magazine Area
The second step to fixing and unjamming your Bostitch nailer is to review the entire magazine area in order to spot irregularly jammed fasteners. Most of the time, it is actually the magazine itself that is worn out, and that gives rise to unnecessary jamming inside the nailer.
In case that is the situation here, take up a screwdriver near at hand and start tightening up the loose parts. This might not always work to fix the exact issue, but it gets the job done forthe majority of the time.
3. Replacing the Driver
Other than the magazine area, you should also check out if the driver area is busted. More often than not, the driver area tends to get chipped and broken quite easily, therefore prompting the nails to eventually break off as well.
You can either get your driver area fixed by a professional or simply call up the manufacturer’s customer service and see if they provide a replacement or not.
4. Include New Fasteners
In case all of the previous nails in the nailer seem to be either broken or bent, you should stop using the fastener completely and insert a completely brand new group into the equipment instead.
Opting for a completely brand new set of nails will allow you to get back to work faster as well as provide you with more reassurance for your future projects.
5. Oiling the Nails
One of the easiest ways to fix and unjam the nails of a Bostitch roofing nailer is by oiling them on a weekly basis. By lubricating the nails, you will be allowing them to work smoothly for a longer period of time.
If you cannot oil the nails yourself, opt for a professional who can help you out or simply invest in the various air tool lubricants that you can now find on the market.
Most of the time, the air tool lubricants that you can find on the market are quite inexpensive and also come with the necessary instructions provided so that users can start making use of them from the get-go.
6. Remove Damaged Wires
Another easy way to unjam a Bostitch roofing nailer is by completely removing the damaged weld wires held inside the equipment. For this, you will need to remove the fasteners and then carry on by replacing them with brand new ones of better quality.
Remember to invest in higher quality wires for the next upgrade so that you do not have to deal with the same issue all over again.
7. Check Air Compressor
The final step to making sure the entire equipment is completely unjammed is by checking the pressure settings for the air compressor inside the roofing nailer. Not only will the right pressure setting provide faster cycles, but it will also reduce the chances of mishaps taking place again.
Conclusion
Inspecting your roofing nailer on a weekly basis can greatly help in preventing malfunctions in the future. We hope that by now, you know how to unjam a Bostitch roofing nailer properly and that this article will assist you with your future nailer issues as well.