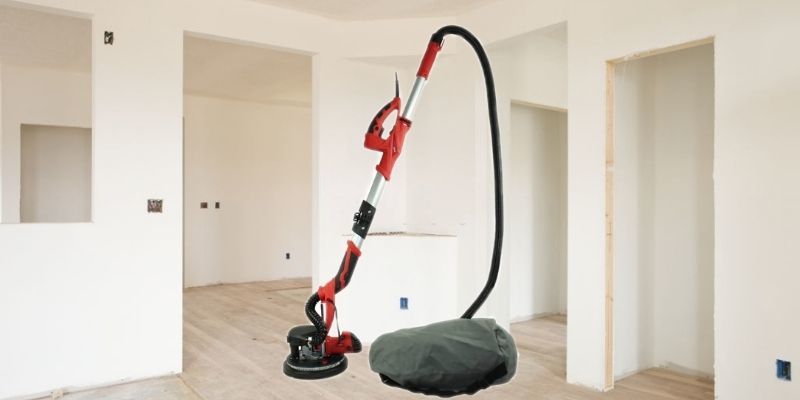
Sanding drywall requires a lot of effort, but it makes the perfect base for painting and finishing if done right. Several tools work together in harmony to make the process effective. One such tool is a drywall sander.
There are many different types of sanders available. If you know how to use a drywall sander, you can make each of them work efficiently to achieve the same goal: smoothen out any imperfections with as little time and mess as possible.
While there are differences in the finer details of the various types of sanders, most of them follow the same procedure.
Want to know more? Well, you have come to the right place. Read on to find out the process of using a drywall sander.

How to Use a Drywall Sander?
Let’s learn how to employ a drywall sander efficiently.
Step One: Preparing the Surface
The first step is to prepare the surface of the drywall, no matter the type of sander being used.
Depending on the amount of time you have, you can choose to use either one thick layer of jointing compound or three thin layers of jointing compound. It is important to smoothen out any unwanted bumps and let the substance dry before moving on to the next step.
Step Two: Taking Safety Measures
Be sure to take appropriate safety measures before you start with the task. Wear a pair of goggles and a mask or a respirator for protection against dust particles.
It is important to secure the work area too. Close all the doors and windows, except for one window for ventilation. Seal all the cracks around the closed ones, so none of the dust escapes. Place a wet rag anywhere on the floor to catch extra dust.
Step Three: Choosing the Sander
Based on the result you want; you have to choose from a number of different types of sanders.
Manual Sander: Ideal for small jobs like repairing a broken corner or sanding edges.
Pole Sander: Creates long strokes while sanding ceilings or hard to reach areas.
Electric Sander: Perfect for getting maximum amount of work done in minimum amount of time with very little mess.
Portable Cable Sander: Used by professionals for heavy duty sanding.
Orbital Sander: Best for small projects like sanding a single wall or a small room.
Random Orbital Sander: Same as an orbital sander, with the only difference being that no swirling patterns are left behind.
Portable Belt Sander: Helps remove old paint, stain, or varnish from large horizontal wall space.
Step Four: Finding the Perfect Grit for the Best Sandpaper
According to the sander being used, you need to choose the perfect grit paper for the best results.
Usually, heavy grit paper is not required because nowadays, the jointing compound is really soft and lightweight.
A fine grit, somewhere between 120-grit and 150-grit, works best on drywall. It is possible to go slightly above and up to 180-grit and still sand effectively.
After choosing the proper grit level, load it onto the sander.
Step Five: Spotting Problematic Areas
Before you start the actual sanding, it is necessary to examine the wall and spot the problematic areas first.
Get a torch and shine the light on the wall. Mark the areas with gouges. Use some more jointing compound to fill the depressions and leave them to dry.
Step Six: Sanding
Now that you are finally done prepping, it is time to start sanding!
Apply light to moderate amount of pressure on the sander and constantly move it around. Do not sand over the same place repeatedly as it may leave grooves over the wall, which will then become visible once painted.
Take time. Put in care and effort. Do not rush through the process, but rather, move slowly and randomly for the perfect finish.
Once you are done sanding the wall, use a sanding sponge to handle the corners and areas you may have missed, and then sand over the entire surface once again for a completely smooth finish on your drywall.
Step Seven: Knowing When to Stop
It is extremely important to know when to stop sanding, as too much can damage the wall.
Start by sanding lightly, and slowly continue sanding more until it is enough.
If, by any chance, you end up oversanding, touch the area up with some jointing compound and resand when dry.
Step Eight: Preparing for Painting
Once you are done sanding, prepare your drywall for painting.
Clean off the accumulated dust and debris, but make sure to leave an even coat of dust all over the surface before applying any paint. The dust helps bind the paint to the drywall compounds and improves the overall paint job.
Recommended Article: How to sand drywall with electric sander – The ultimate guide.
Conclusion
With some time, you too can figure out how to use a drywall sander with precision and navigate your way through drywalling while facing little to no complications. Good luck!