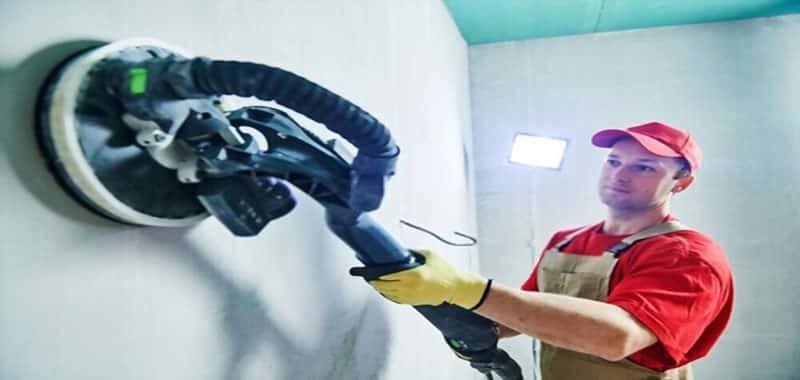
Drywall sanding can be a nightmare. It can be quite easy to cause a mess because drywall dust can end up spreading everywhere. The danger of drywall dust getting prevents many people from sanding their drywall. Fortunately, a solution exists in the form of a dustless drywall sander kit.
This article aims to guide you on how to use a dustless drywall sander. It can be initially confusing on what you need to do to operate it, but it’s quite easy to get used to.

Dustless Drywall Sander Overview
Dustless drywall sanders have a sanding head like all other sanders. The primary difference is that it can be connected to a vacuum.
So it operates like a vacuum cleaner and sucks in the drywall dust. This prevents dust from spreading and has it all accumulate in 1 place so that it can be later removed easily.
Some models of dustless drywall sanders have a bucket or container that needs to be filled with water.
The dust collected mixes with the water in the bucket. This is a much more effective dust removal method as the dust is now easier to remove. It also doesn’t clog up the vacuum, so your sander operates more smoothly.
How to Use a Dustless Drywall Sander
Below is a general guide for using your dustless drywall sander. You should always refer to the instruction manual of your model for specific instructions.
1. Safety Precautions
Drywall sanders are power tools, so some safety precautions need to be observed beforehand.
The most important things to have are safety goggles and ear protection. Safety goggles will protect your eyes from any stray dust, and ear protection is always necessary to have around for prolonged use of power tools.
2. Preparing the Drywall Sander
Hook up the sander head to the vacuum. Make sure the connection is secure. For models that feature the bucket, you will need to fill it up with some water.
3. Attach the Sanding Screen
For these sanders, it is recommended to use a sanding screen. Sanding screens work similar to sandpaper, but it features holes to allow the dust to fall through. This allows for better sanding.
To attach the sanding screen, check the sander head for clamps. Loosen the clamps and start inserting the screen. Center the screen properly and then tighten the clamps so that they hold the screen securely.
4. Sanding the Wall
Turn the vacuum on to begin the suction action. Adjust the pressure. Now place the sander head on the wall and begin sanding by making long strokes.
Check to see if the walls are smooth or not, and repeat the stroking motion as necessary. If you find you’re sanding sheets ripping or any damage to the walls, you will need to readjust the pressure of your vacuum.
Note: We have reviewd a list of best drywall sander for your wall. You can check our list here.
5. Check the Filter
During the process, make sure to regularly check your filter. You should not let the dust build up too much, or it can end up clogging the machine. Empty it from time to time.
If you’re using a model with a bucket filled with water, you’ll find that the dust will mix with the water to form grime. Empty this, or it can end up creating a mess.
6. Repeat the Strokes
Continue the process of sanding drywall and make sure to check your filter often. If you have many walls to sand, it is recommended to take breaks often as the process can be tiring.
Conclusion
We hope that you find this guide on how to use a dustless drywall sander to be informative and helpful. Drywall sanding can be a strenuous task as it is quite slow. Dustless drywall sanding is seen so favorably since you don’t have to clean up any mess afterward.