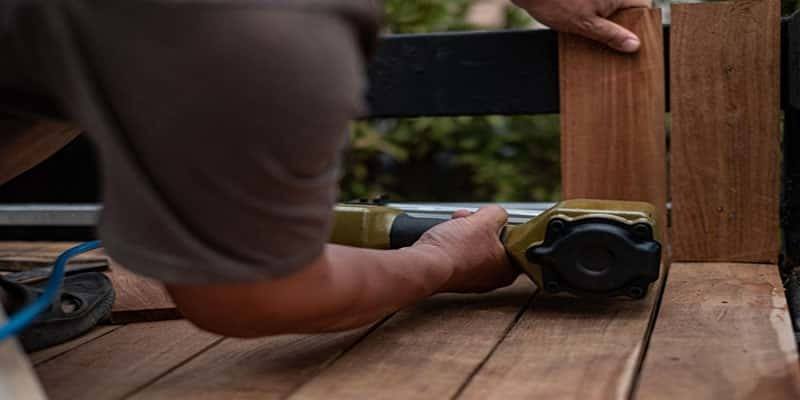
Molding and trims are something most houses should have. If you are working in construction, then you have to do this a million times. And most often, we do them using our handy-dandy nail gun. But would you believe it if I told you that it could be done just as well without using a nail gun?
I am going to tell you exactly how to install trim without a nail gun. All you have to do is follow along, and you should be good to go!
Why Do We Need Trims and Moldings?
I am a true believer in crown moldings; I have always believed that they complete the look of a well-designed room, and therefore that is something I have always wanted to work with and know more about.
It is not something you need to install, but you should think of adding them to your house if you want a good finished look.
Check out our Top Picks of Nail Gun For Building Furniture
And I would always recommend it as they are very easy to install and is every bit worth the time, effort, and energy you put into it.
How Do You Install Trim without a Nail Gun?
Before I jump into the actual steps, I want you to know that you will need some time and patience. That is needed if you want the result to look the same as it would have if you are to use a nail gun.
Measure the Space
The first thing on your to-do list should be to measure the areas where you will install the trim. It is important as you will have to buy the molding according to what you measure. If you get less, then you will have to go and get more. And that might not be something you would want to do in the middle of your work.
Also, when you get the molding, you should get the unpainted ones. They are significantly cheaper than the painted ones; you can paint them yourself for a fraction of the price later on. This should be readily available in any of the hardware stores like Home Depot.
Paint the Trim
Now that you have the paint as well as the unpaired molding/trim, you should start by painting it. You have to do this before you install the molding. The job is much easier and better. You should also keep in mind that the paint needs to dry completely before you can actually install the trim in your house.
I would recommend you use a coat or two of primer as this will help the paint properly adhere to the trim’s surface. Otherwise, you might start seeing some chipping or even fading over time.
Cut the Molding into Shape
You should take this step very seriously. Cutting the molding at the right angle is very important. If you don’t know how to use a miter saw, I recommend you either get pre-cut ones or get them measured and cut by someone who knows what they are doing.
This takes some time before you get the right size, sometimes your measurements might be a little off, or you might have to adjust the pieces together for a seamless look.
Drill Them in Place
Now that you have all the pieces cut to perfection, you have to find studs on your wall, and once you locate them, you should hold the trims in place to see if they look good in the position. When you have found the right placement, you should drill holes through the trim into the studs.
Nail into Place
So, you have already made the holes where the nails will go; now you need someone to hold the trim in place while you work on fixing it to the right place. Align the nails to the holes you made with the drill, and by using a hammer, smash it into place. Just make sure you don’t bend them out of shape with the blow.
Cover Nail
You obviously don’t want exposer nails on your trim, so for that, cover it up with putty and let it dry overnight—the next day, when the putty is dry, sand it down properly and just paints over it.
That is all you have to do you get a great finished result. This way, you don’t even have to spend the additional money to get a nail gun.
Conclusion
Even though having a nail gun would make your work much easier, but now you know how to install trim without a nail gun. You will get the same result; you only have to add a little more effort than you would originally have to.